Want to make one??
I received some of this mini ruffle in grey from the lovely Ruffle Fabric peeps so I could do a quilt tutorial for you!
Finished Quilt Size: 40.5" x 44.5"
Materials Needed:
- 3/4 yards Ruffle Fabric
- 1/2 yard of coordinating quilting cotton print
- 1/8 yard of FIVE coordinating quilting cotton prints (each print needs to be exactly 4.5", so bump this up if your not confident in the cut.)
Tips for Ruffle Fabric:
- Take time and care cutting ruffle fabric. You'll need to separate the ruffles with each cut. Also take care that the ruffles are hanging correctly when sewing. To do this I recommend a lot of pinning!
- Make sure when you cut your ruffles run horizontal.
- Make sure your ruffles all hang in the same direction when assembling the quilt top.
- Don't stretch! This is a stretchy material and thankfully very forgiving. However pin a lot and do your best not to stretch it as you sew, otherwise you'll cause your other prints to gather.
- I had no problem ironing it, it didn't effect the ruffles at all. It also does not shrink if you like to pre-wash.
Step 1: Cutting
- From ruffle fabric cut 5 strips 4.5" x 40.5". The ruffle should run horizontal in the cut.
- From coordinating prints cut 3 strips 4.5" x 40.5"
- From five coordinating trim to 4.5" x WOF
Step 2: Creating the Squares Row
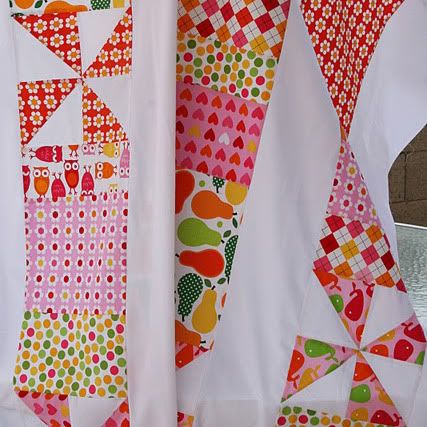
- Sew the five strips together, top to bottom. Press. Refer to the picture below.
- Sub-cut the prints to 4.5" strips and cut 6.
- Sew end to end for 3 total strips. Refer to second picture below.
Step 3: Layout
- Lay all your strips on a flat surface. Arrange in the following order, sew top to bottom and press:
- Squares Row
- Ruffle Row
- Solid Row
- Ruffle Row
- Squares Row
- Ruffle Row
- Solid Row
- Ruffle Row
- Squares Row
- Ruffle Row
- Solid Row
Step 4: Quilting
I haven't quilted mine yet, obviously, but I will share when I do! Here are a couple of my thoughts. I plan to straight-line stitch on the cotton fabrics horizontally, maybe every inch. I will stitch in the ditch above and below the ruffle fabric but DO NOT quilt on top of the ruffle fabric or you'll flatten it! Sad!
This will mostly likely be for the little lady :) Two and a half weeks to go!!! It's a great size for a play quilt on the floor, plus I think those tiny fingers will love the ruffles!
It is such a grown-up color palette which is making me smile! I've done so many sweet things for her this was fun to be a little more dramatic.
I hope you like it! It was so fun to make!! I have a couple more Ruffle Fabric projects I'll be sharing so stay tuned!
Fabrics Used:
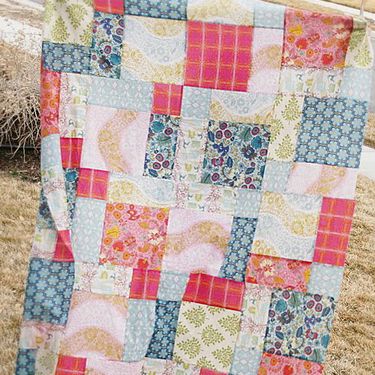
Cameo by Amy Butler from Fabric Shoppe (one of the coral prints is from her previous collection Lark)
























2 comments:
What a coincidence! I just finished two skirts for ruby tonight, using the ruffle fabric i've had stashed since quilt market - ha! i loved it for the skirts - no hemming or anything, so easy!
i hadn't thought to use the ruffle fabric for a quilt - good job meg!
that is SO CUTE! What a glorious idea!
Post a Comment